Saturday, October 17, 2015

Family Craft Time - Holy Tree Wreath

Last Sunday, together with my husband we had a little crafty activity. For some time I wanted to try making grapevine wreath. I saw once the tutorial on how to make it and it looked easy peasy. Well, as it often turns out, I was trying to do exactly as it was shown and it didn't work this way. The branches were not so flexile as in the video and I had troubles to bend them the right way. Fortunately, I have a very smart man and he came out with his method of making wreath.

My part was to decorate it with something. We have a holly tree in our garden, so I decided to use it - after all, Christmas time is coming soon. This is how it turned out. So, I have my first very own wreath, perfect for Christmas time :).

And what a saving - I have nice decoration for zero spending!

If any of you has grapevines in the garden, then you have to try making wreath. I'll try on some more for sure, maybe next time using fabric for decoration.

Monday, September 14, 2015

Yummy Felt Corn

Wow, my pincushion that I linked to Sew Can Do Craftastic Monday last week is featured today there :)! That's a very nice start of the week. So, let's continue the fun and I'm linking today's post to Craftastic Monday Party as well.


The past week I ended up in working with 4 sewing / embroidery projects, which is way too many with so little time I can squeeze. That's why I'm very happy I finished this one on Saturday. And I realized it took me 1,5 month to finish that! It's felt corn on the cob.

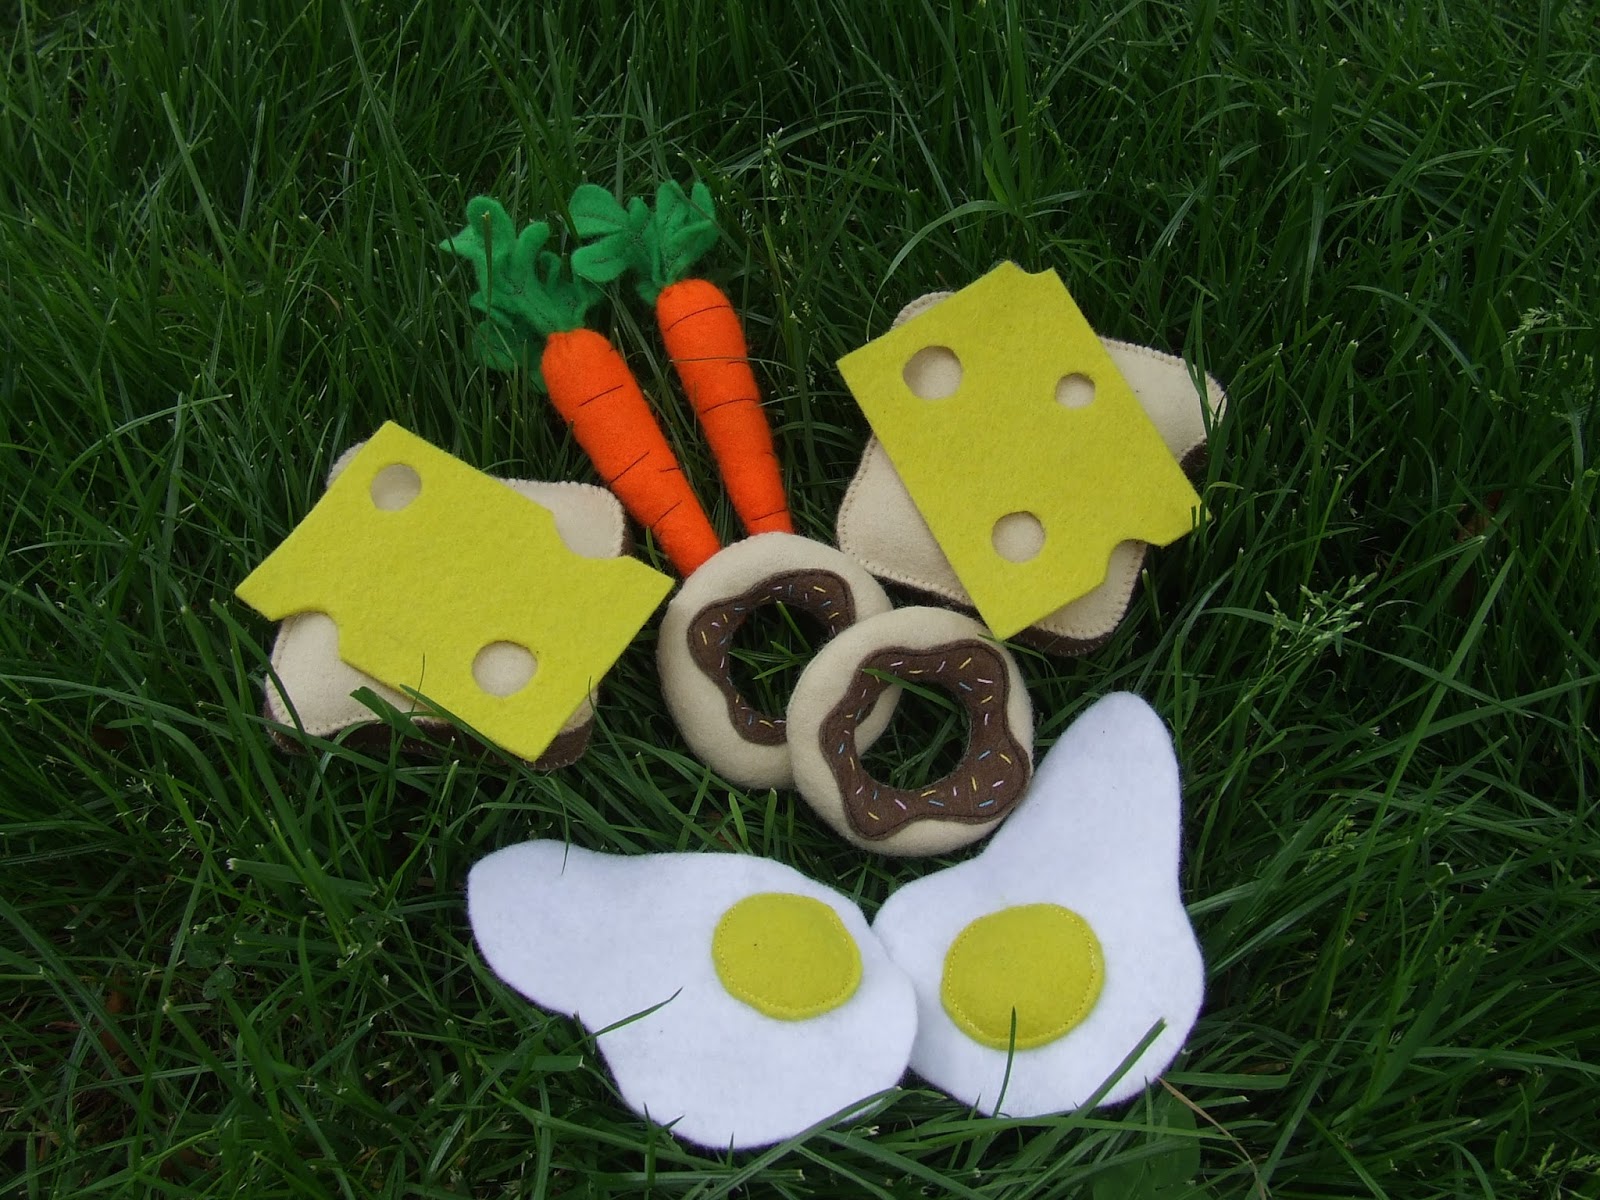
As I already mentioned in one of the posts, I fell in love a bit with making felt food. I made some and my son, Franek, was enthusiatic about it, so it was a very good reason for me to carry on. Per his request my next project had to be corn. I found a gorgeous tutorial on While Wearing Heels blog, where the corn looks like a real one. The way kernels are made is very time consuming but worth the effect.

I had to make some changes in sewing the leaves though. In the tutorial, the corn and leaves are sewn together and Franek wanted them to be separate - after all, you don't cook corn with leaves, so they had to be removeable :). This is how it turned out.

In July I got two books about felt food (and not only) as my birthday gift, so stay tuned for more felt stuff here.

Saturday, September 12, 2015

Cathedral Window Pincushion II

On the previous post I showed you my first try on the cathedral window. I liked it so much that I decided to practice it further with second pincushion, this time with brown and blue combination of colors. Of course I used my scraps to do this one as well.

I think this one will become a gift for my mum. Many years ago when I was in primary school I made heart-shaped pincushion for her and recently she has mentioned it was one of the most useful things I made at school :). She still has this one and uses it, so I believe she'll be happy with the new one.

Oh, and do you know what happened to the pincushion from the previous post? Franek, my 6-year old son, took it and claimed it would be his pillow. Well, I think I'll just go on and practice cathedral window a little bit more :)

I'm adding this post to Show Off Saturday Linky Party:

Monday, September 7, 2015

Cathedral Window Pincushion

Yesterday, I had a very successful day when it comes to sewing because I was able to finish what I started to do. It required the older son to leave the house with his dad and the younger son to fall asleep :).

I did the cathedral window pincushion. It's been a while I wanted to try cathedral window and such small project as pincushion sounded perfect for a start. I found gorgeous tutorial from My Go-Go Life that you can find here on Craftsy. And it's perfect to use scraps. I know I'll have to pratice the catherdral window much more, so I'm more satisified with the result. That's why probably I'll make one more pincushion and then I have a plan to make a pillow using this technique.

I'm sharing this post on Craftastic Monday Linky Party at SewCanDo.


Thursday, August 27, 2015

[WIP] Golden Hardanger Doily

It's been a long, long time since I showed any embroidery. So, it's highest time to change that :). I'd like to show you what I've been working on for some time. It's my favorite, lovely Hardanger. The pattern comes from Yvette Stanton's book: "Elegant Hardanger Embroidery" and it'll be square doily. However, I decided not to use classic white colors, as seen in the book but instead to try this pattern on light yellow fabric and stitch it with dark gold thread. There's a lot to stitch and then cut, so I have no idea when I finish it but whenever I have a couple minutes here or there, I try to stitch. It's a small project so it's easy to take it wherever I go.

The doily will be around 28x28 cm. Materials I use: Zweigart Lugana light yellow fabric (color nr 274); DMC Pearl Cotton nr 5 and 8 dark gold (color nr 783).

Wednesday, July 29, 2015

Tuesday, July 28, 2015

Lavender season - sachets

Recently, there's been lavender season in my garden. By now, I cut and dried all the flowers.

So, it's highest time to think of lavender sachets. I grabbed some fabrics with different shades of violet, I also found some ribbons in my stash. The white with pink border is the one that my mum gave me from her stash so it must have been bought years ago! It's nice feeling when I make something new out of something old that was waiting so long to be used.

At first I made the triangle sachets from this tutorial on Patchwork Posse blog. However, mine didn't come out that good - they are more "wonky triangles" kind :). Probably, one reason is that I used a bit bigger squares than in the tutorial. So, instead of triangles I decided to continue with standard square sachets.

Once I filled the bags with lavender I stitched it around with pearl cotton. Also, it's not seen on the photos but each side of the bag has different fabric.

I'm adding this post to Linky Party on SewCanShe blog:

Wednesday, June 10, 2015

Felt Food - tasty start

For quite some time I wanted to try making felt food. I thought (and wasn't wrong :)) that this can be fun for both me and my son. Finally, recently I found some time to try this and used a little trick. I showed photos to my son and asked him: "Hey, Franio - do you want to have such for play? I can try and make these". Of course he was all for yes, so I had a good excuse I needed some time for myself and my sewing machine. The first thing we did - as he was helping me out as well, were the fried eggs, then I did carrots. And it is addicting - you try one and you want to try something else. So, the other day I continued with toasts/sandwiches, cheese and finally some dessert (doughnuts) for the end of a tasty meal.

Now, there's one minus - once I made all of this food I had to get rid of the box from my kitchen, as Franek needed something to store his food :).

Currently, I slowed down, as I need some more felt with different colors to make more stuff. I'm planning a short trip to the nearby town and do a little shopping. If it succeeds I'll work on the slice od tomato, corn, banana.....the list will be endless I guess.

Monday, May 25, 2015

Name change

Hello, here's just the short "technical" info. For some time I've been struggling with the fact that my blog doesn't show exactly what it was supposed to. His name was Embroidery Corner and in fact for some time I was sharing here more sewing, than embroidery. I love sewing as much as I love hand stitching, so I decided to change this blog's name to one that would cover both activities and reflect more what can be found here. Not everything I'll show will be of teal color :), but since I love this one I decided to have it in the name. Now, I'm working on the new layout and soon there should be the post on my current work. Cheers, Paulina

Friday, February 27, 2015

Minky Baby Quilt

Hello,

Ok, so after a long, long silence I'm trying to resurrect my blog once again. I didn't give up on embroidery and sewing but I couldn't find the time to document it all and post on the blog. Let's hope this year I'll have more time on both.

In January we welcomed a new addition to our family and now I'm a proud mama of two boys :) (the older is 6 years old now). And I'd like to show you baby quilt I was working on when I was pregnant. I didn't manage to finish it before my son's arrival, but I just did it now, so it's only 1 month delay. Not so bad.

Some time ago I found a tutorial for making baby quilt and I loved the pattern, so it only waited on my list of things to be done till the chance comes up. And here it was. In case you're interested you can find the tutorial here. The tutorial is made to use Layer Cake squares, I didn't have those, so I just cut the pieces from fabrics in my stash.

I decided to use Minky as the back of the quilt. I was a bit worried how quilting of such fabric would look like and if it's not too hard for me. But fortunately, it turned out it's quite easy to work on and I'm really pleased with the results. Minky is very soft and warm and so nice to sneak under that I guess we'll be both sleeping under it :). Minky is quite expensive, at least here in Poland where I live, but in my opinion it's worth spending money on such a special occasion as new baby in the family. It's perfect for various baby items.